Picture this: It's 6 PM on December 23rd. Your holiday party starts in two hours, and you're outside in the freezing cold, trying to reattach half your outdoor lights after last night's windstorm. The cheap clips you used snapped. The tape gave up. Now you're on a ladder, frustrated, wondering why this happens every single year.
Sound familiar?
There's a better way. Professional decorators and homeowners who never deal with fallen lights have a secret: they use heavy-duty outdoor cable ties designed specifically for weather resistance. Not the flimsy indoor ones from the junk drawer. Not tape or twist ties that fail after one rainstorm.
In this guide, you'll learn exactly how to secure your Christmas lights so they stay perfect all season long, no matter what Mother Nature throws at them.
Why Your Holiday Lights Keep Falling Down
Before we talk solutions, let's understand the problem. Most people don't realize how much stress outdoor lights actually endure:
Wind force: A 20 mph gust creates enough movement to loosen poorly secured lights within days. Trees sway, gutters vibrate, and any weak attachment point gives way.
Temperature swings: Nighttime cold makes plastic brittle. Daytime sun expands it. This cycle breaks standard clips and weakens adhesives in just a few freeze-thaw cycles.
UV radiation: Direct sunlight breaks down regular plastic in 30-60 days. That's why those indoor cable ties you used last year crumbled when you tried to remove them.
Rain and moisture: Water seeps into attachment points, causing rust on metal clips and degrading adhesives. Ice formation can crack rigid fasteners overnight.
The weight factor: A 25-foot strand of lights weighs about one pound. Add wind resistance, and you're looking at 3-5 pounds of force on each attachment point during storms.
This is why you need weatherproof ties specifically rated for outdoor use.
The Solution: UV Resistant Outdoor Cable Ties
Here's what makes outdoor cable ties the gold standard for holiday light installation:
Material matters: Quality outdoor cable ties are made from nylon 66 with UV inhibitors mixed directly into the plastic. This isn't a coating that wears off. It's built into every molecule, so the tie stays flexible and strong for 5+ years of continuous outdoor exposure.
Temperature rating: Professional-grade exterior cable ties handle temperatures from -40°F to 185°F without becoming brittle or soft. Your lights stay secure whether it's a Texas summer or a Minnesota winter.
Tensile strength: A standard 8-inch outdoor cable tie holds 50 pounds of force. That's 50 times more than what your light strand weighs, giving you a massive safety margin.
Water resistance: These ties don't absorb moisture, rust, or corrode. They work perfectly in rain, snow, sleet, and humidity.
Clean removal: When the season ends, quality outdoor zip ties cut away cleanly without leaving sticky residue or damaging your surfaces.

The difference between using proper outdoor cable ties versus hardware store clips is like comparing professional-grade paint to craft store watercolors. Both work, but only one lasts.
>>Shop UV-resistant outdoor cable ties in multiple sizes <<
Cable Ties vs. Other Methods: What Actually Works?
Let's compare the most common attachment methods so you can see why professional installers choose cable ties:
Light clips (plastic gutter hooks)
- Pros: Easy to install, reusable
- Cons: Crack in freezing temperatures, pop off in high winds, only work on gutters, cost $0.15-0.30 each
- Verdict: Good for gutters only, not versatile enough
Staples (U-shaped wire fasteners)
- Pros: Cheap, hold firmly
- Cons: Damage wire insulation (fire hazard), rust, nearly impossible to remove, damage wood surfaces
- Verdict: Never use these. Safety risk.
Twist ties (paper-covered wire)
- Pros: Very cheap, found everywhere
- Cons: Paper coating absorbs water, wire rusts within weeks, weak hold, looks messy
- Verdict: Indoor use only
Adhesive hooks and tape
- Pros: No tools needed, damage-free
- Cons: Adhesive fails in cold or moisture, sun degrades glue, falls off unpredictably
- Verdict: Temporary at best
Outdoor cable ties
- Pros: Weatherproof, strong (50 lb rating), works anywhere, costs $0.03-0.10 each, lasts 5+ years, professional appearance
- Cons: Single-use (but so cheap it doesn't matter)
- Verdict: This is what professionals use for a reason
When you factor in time spent fixing fallen lights, cable ties are actually the most cost-effective option by far.
Types of Cable Ties for Holiday Lighting
Not all outdoor cable ties are created equal. Here's what you need to know:
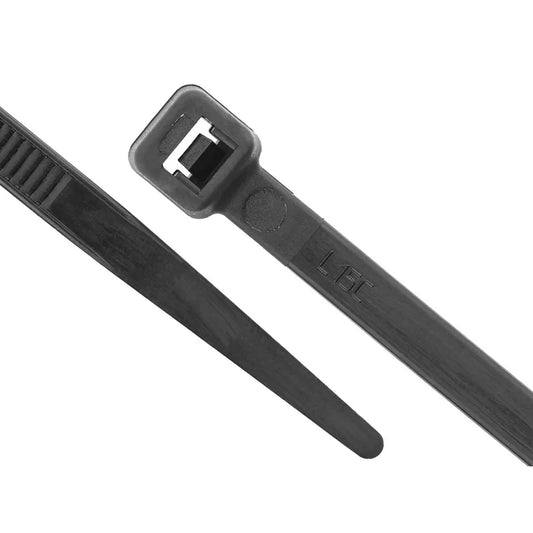
Standard UV-resistant ties (black or natural)
- Best for: General outdoor use, most common choice
- Length options: 4", 6", 8", 11", 14"
- When to use: Trees, fences, railings, general light installation
- Temperature rating: -40°F to 185°F
- Cost: About $5-8 per 100-pack
Heavy-duty outdoor ties (thicker gauge)
- Best for: Large decorations, securing heavy items, high-wind areas
- Tensile strength: 75-120 lbs
- When to use: Inflatable decorations, large wreaths, extension cord management
- Cost: About $12-15 per 100-pack
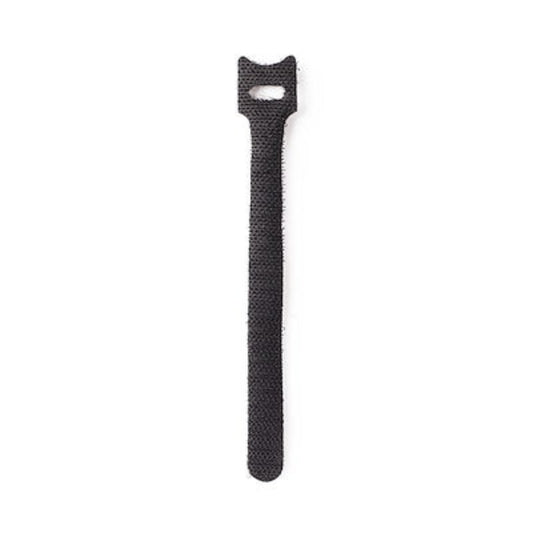
Releasable outdoor ties (reusable)
- Best for: Indoor/outdoor transition areas, temporary setups, frequent adjustments
- Feature: Tab release mechanism for easy removal
- When to use: Spaces where you need to adjust frequently
- Cost: About $15-20 per 50-pack
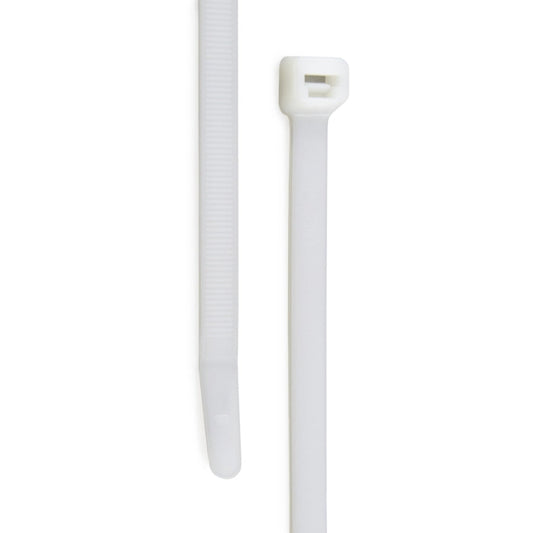
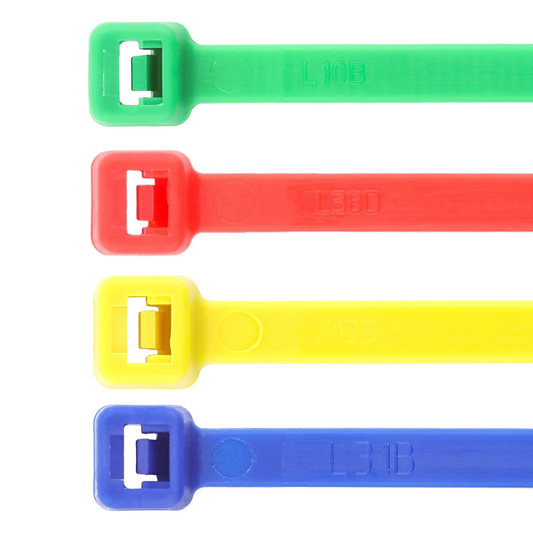
Colored outdoor ties (white, green, red)
- Best for: Matching your color scheme for invisible installation
- When to use: White for gutters, green for trees, natural/black for everything else
- Cost: Similar to standard, about $6-10 per 100-pack
Pro tip: Buy the 8-inch length in bulk. It's the most versatile size and works for 80% of holiday lighting applications. Keep a pack of 11-inch ties on hand for thicker branches or bundling multiple cords.
Step-by-Step: How to Install Christmas Light Cable Ties Correctly
Follow this process for a professional-looking display that survives the entire season:
1. Plan Your Route and Gather Supplies
Walk your property before you start. Identify:
- Where lights will hang (gutters, trees, fences, railings)
- Natural attachment points (branches, posts, hooks)
- Where you'll need extra support (corners, long spans, high-wind areas)
- How many strands you'll connect
Supply checklist:
- UV-resistant outdoor cable ties (buy 2-3 per foot of light strand)
- Wire cutters or scissors
- Ladder (if needed)
- Work gloves (those tie tails can be sharp)
2. Choose the Right Tie Length for Each Location
4-inch ties: Thin wiring, small branches (under 1" diameter), bundling extension cords 6-inch ties: Standard gutters, medium branches (1-2" diameter), fence posts 8-inch ties: Thick branches (2-3" diameter), porch columns, railings with multiple wires 11-inch or longer: Very thick branches (3"+ diameter), bundling multiple light strands together
When in doubt, go longer. You can always trim the excess, but a too-short tie won't close.
3. Attach at Strategic Intervals
The spacing rule: Place a cable tie every 12-18 inches along your light strand. Closer spacing (every 8-12 inches) if you expect high winds or have heavy LED bulbs.
Why spacing matters: Too far apart and your lights will sag between attachment points, creating a droopy look and putting stress on the wiring. Too close and you've wasted time and money with no benefit.
For gutters: Attach every 18-24 inches. Loop the tie around the gutter lip and the light wire together.
For trees: Space ties 12 inches apart. Wrap around branch and wire, keeping the tie on the underside of the branch so it's less visible.
For fences: Every 12 inches along the top rail. Keep wires straight for a clean, professional look.
4. The Proper Tightening Technique (This Matters)
Here's where most people mess up:
Step one: Thread the tie around your attachment point and the light wire.
Step two: Pull snug, but not tight. You should still be able to slide the wire slightly within the tie. This is critical.
Why leave slack? When temperatures drop, materials contract. If you've cinched the tie too tight, the contraction can damage the wire insulation or create stress points that lead to electrical shorts. Leave about 1/8 inch of movement.
The test: After securing, try to slide the wire gently. It should move just slightly but not pull free.
For trees specifically: Allow extra slack. Trees move in wind, and you want the wire to move with the branch rather than fighting against it.
5. Trim Excess Cleanly and Safely
After securing each tie, you'll have a tail sticking out. Cut it close to the head (leave about 1/4 inch) at a slight angle so there's no sharp point.
Safety note: Those trimmed tails are surprisingly sharp. Don't leave them pointing toward walkways or where kids might brush against them. Point them upward or inward when possible.
Collect the tails: They're small plastic pieces that can litter your yard. Keep a bag handy and collect them as you cut.
6. Add Backup Ties in Critical Areas
Double up your ties in these locations:
- Corners and turns: Where the light strand changes direction
- Connection points: Where two strands plug together
- Heavy sections: Areas with larger bulbs or dense coverage
- High-wind zones: Exposed areas that catch the most wind
Think of backup ties as insurance. They cost pennies but prevent the frustration of midnight repairs.
7. Final Inspection and Testing
Before you plug in:
- Walk the entire display and tug gently on the lights at each tie point
- Look for sagging sections that need an additional tie
- Check that all ties are oriented the same direction for a uniform look
- Make sure no wires are pinched or kinked
- Verify ties aren't touching bare wire or damaged insulation
Then plug in and enjoy.
Best Places to Use Cable Ties for Holiday Decorations
Here's exactly how to secure lights in the most common locations:
On Trees and Bushes
Technique: Wrap the outdoor zip tie around the branch and the light wire together, positioning the tie on the underside of the branch for invisibility.
Spacing: Every 12 inches on main branches, every 8 inches on smaller decorative branches that move more in wind.
Pro tip: Use green cable ties on evergreens and natural/black ties on bare trees. The color match makes them nearly invisible even in daylight.
Common mistake: Don't wrap ties around the trunk. This looks amateur and you'll have visible ties. Use branches instead.
On Gutters and Rooflines
Technique: Loop the tie around the front lip of the gutter and the light wire. The tie should hang on the inside of the gutter, invisible from the street.
Spacing: Every 18-24 inches for standard gutters.
Pro tip: White cable ties disappear against white gutters. For dark gutters, use black ties.
Safety note: Never attach lights to power lines or phone lines, even if they're close to your roofline. Always use the gutter or roof clips instead.
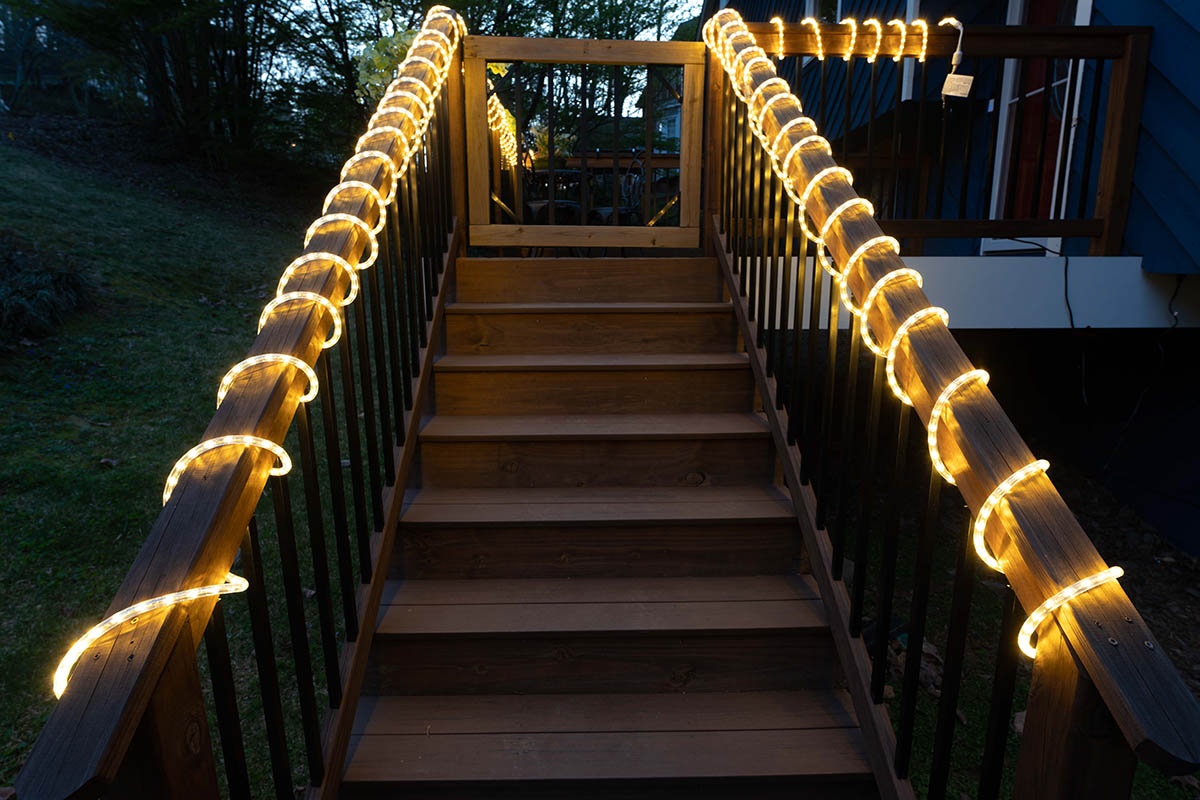
On Fences and Railings
Technique: For maximum strength, loop the tie through the fence and around the light wire, pulling the wire snug against the fence.
Spacing: Every 12 inches along the top rail for straight lines, every 6-8 inches on diagonal or swag patterns.
Visual impact: Keep your spacing exactly consistent. Uneven spacing is immediately noticeable and looks unprofessional.
Best practice: For two-rail fences, run lights along the top rail only. Double lines rarely look as good as you imagine.
On Columns and Posts
Technique: Spiral wrap your lights around the column, securing with cable ties every complete rotation. The ties should be on the back side of the column, facing away from viewing angles.
Spacing: One tie per rotation at minimum, two ties per rotation for heavy LED strands.
Design tip: Keep your spiral consistent. Measure the gap between each wrap so it's uniform top to bottom.
On Metal Frames and Yard Decorations
Technique: Wire frame decorations (reindeer, snowmen, presents) need cable ties at every joint and at 8-inch intervals along the frame.
Why: Metal frames conduct cold and heat, making them expand and contract more than other materials. More ties = more stability.
Extension cord management: Use cable ties to secure extension cords to stakes or along the ground path. This prevents tripping hazards and keeps cords organized. Bundle multiple cords together with one cable tie every 24 inches.
:max_bytes(150000):strip_icc()/how-to-hang-outdoor-christmas-lights-2736460-15-6e072281082f4e3d9387c4cf0cdc21d1.jpg)
Common Mistakes to Avoid (Learn From Others' Failures)
After installing thousands of light displays, here are the mistakes I see most often:
Mistake 1: Using indoor cable ties outdoors
Indoor ties last about 2-4 weeks in direct sun before becoming brittle. They'll snap at the worst possible time. Always buy UV-resistant outdoor cable ties, even if they cost a bit more.
Mistake 2: Overtightening
This damages wire insulation and creates stress cracks. Remember: snug, not tight. Leave wiggle room.
Mistake 3: Inconsistent spacing
Random tie placement creates sagging and an unprofessional appearance. Measure your spacing, especially on long runs.
Mistake 4: Skipping backup ties
The one section you didn't double-secure will be the one that fails. It's Murphy's Law of holiday decorating.
Mistake 5: Using the wrong length
A 4-inch tie won't reach around a thick branch. A 14-inch tie on a thin wire looks bulky and wastes material. Match the length to the application.
Mistake 6: Attaching to power lines
This is dangerous and often illegal. Always attach to your structure, never to utility lines.
Mistake 7: Not testing before the holidays
Install lights in early December (or November) so you have time to fix problems before guests arrive. Last-minute installations always have issues.
How Many Cable Ties Do You Actually Need?
Use this calculator to estimate:
Basic formula: (Total feet of lights × 0.75) + 20% buffer = Number of ties needed
Example calculation:
- 100 feet of light strands
- 100 × 0.75 = 75 ties
- 75 + 15 (20% buffer) = 90 ties needed
By location type:
- Gutters: 1 tie per 18-24 inches = 0.5-0.67 ties per foot
- Trees: 1 tie per 12 inches = 1 tie per foot
- Fences: 1 tie per 12 inches = 1 tie per foot
- Railings: 1 tie per 12 inches = 1 tie per foot
Smart buying: Cable ties are cheapest in bulk. A 100-pack of 8-inch UV-resistant ties costs $6-8 (about $0.06-0.08 each). Buying small packs at hardware stores costs $0.15-0.25 each. Buy in bulk and you'll have extras for next year.
Size breakdown for a typical house:
- 100-pack of 8-inch ties (your main workhorse)
- 50-pack of 6-inch ties (for smaller applications)
- 25-pack of 11-inch ties (for thick branches)
Total investment: About $15-20 for enough ties to secure a whole-house display.
Pro Tips for Long-Lasting Holiday Displays
These insider tricks will make your setup last longer and look better:
Tip 1: Install in dry weather
Wet surfaces and rain make installation miserable. Pick a dry day with temperatures above 40°F. Your hands will thank you, and the ties will seat more reliably.
Tip 2: Color-code your ties
Use different colored cable ties for different circuits. When you need to troubleshoot, you'll know instantly which lights are on which outlet. Green for circuit 1, natural for circuit 2, black for circuit 3.
Tip 3: Label your storage
When you take lights down, keep the cable ties attached (just snip them free from the mounting point). Next year, you'll know exactly where each strand goes. This cuts installation time in half.
Tip 4: Buy extras of everything
Keep 50 spare outdoor cable ties in your holiday decoration box. When you need to make a repair or add a strand, you won't need to run to the store.
Tip 5: Document your setup
Take photos of your display from multiple angles before taking it down. Next year, you'll remember exactly how you routed everything.
Tip 6: Use ties for storage too
Bundle light strands with reusable cable ties when storing. This prevents tangling and damage. Use one tie every 2-3 feet of bundled strand.
Tip 7: Inspect before reinstalling
Check last year's ties before reusing mounting points. If a tie looks brittle, discolored, or cracked, cut it off and use a fresh one. They're too cheap to risk failure.
Frequently Asked Questions
What size cable ties do I need for Christmas lights?
8-inch outdoor cable ties work for most applications. Use 6-inch ties for thin branches and gutters, and 11-inch ties for thick tree branches over 2 inches in diameter. Buy the 8-inch length in bulk as your standard and supplement with other sizes as needed.
Can regular cable ties be used outdoors?
No. Standard indoor cable ties break down in 30-60 days of sun exposure. They become brittle in cold and snap under stress. Always use UV-resistant outdoor cable ties rated for temperature extremes. The cost difference is about $0.02 per tie but the reliability difference is enormous.
Will cable ties damage my Christmas lights?
Not if installed correctly. The key is to not overtighten. Pull the tie snug so it holds the wire in place but leaves about 1/8 inch of movement. This prevents pinching the insulation or creating stress points. Never wrap ties over damaged wire or bare conductors.
How do I remove cable ties without damaging surfaces?
Cut them with wire cutters or scissors as close to the head as possible. Since outdoor cable ties don't use adhesive, they won't leave residue. If you find one stuck to painted wood, it's likely melted plastic from sun exposure on dark surfaces. This is rare but can be scraped off with a plastic scraper.
Are reusable cable ties better for holiday lights?
Releasable cable ties cost 3-4 times more than standard ties and aren't as durable in extreme weather. For holiday lights you install once per year, standard outdoor cable ties are more cost-effective. Save releasable ties for applications where you adjust frequently.
What's the difference between black and natural cable ties?
Color is mostly cosmetic. Black ties contain carbon black for UV protection. Natural (white/cream) ties use UV inhibitor additives. Both work equally well outdoors. Choose black for dark surfaces (trees, dark gutters) and natural for light surfaces (white gutters, white fences) to minimize visibility.
How long do outdoor cable ties last?
Quality UV-resistant cable ties last 5-7 years in continuous outdoor exposure. However, most people replace them annually when taking down holiday lights since cutting them off is easier than trying to remove them intact. At $0.06-0.08 each, replacement is cheaper than your time.
Can I use cable ties in freezing temperatures?
Yes. Outdoor cable ties rated for -40°F to 185°F remain flexible in freezing weather. Install them when temperatures are above 40°F if possible (easier on your hands), but they'll hold strong once temperatures drop. Avoid installing in extreme cold (below 20°F) as the plastic is harder to work with, though it won't break.
Do I need special tools to install cable ties?
No. You can tighten them by hand. Wire cutters or scissors are needed to trim the excess tail. Some professionals use cable tie guns for high-volume installation, but these are unnecessary for home use.
What happens if I overtighten a cable tie on my lights?
Overtightening can compress the wire insulation, potentially creating a weak point that could short circuit over time. In extreme cases, it can cut through thin insulation. The wire should slide slightly within the tie. If you can't move it at all, you've gone too tight.
Why Grizzly Supply Outdoor Cable Ties Are the Right Choice
Not all outdoor cable ties meet professional standards. Here's what makes Grizzly Supply different:
Material quality: Our ties are manufactured from virgin nylon 66 (not recycled plastic) with UV inhibitors mixed throughout the material, not just surface-treated. This means consistent strength and weather resistance that lasts.
Temperature tested: Every batch is tested to perform from -40°F to 185°F. Whether you're in Minnesota or Arizona, these ties won't fail.
Tensile strength verified: Our 8-inch ties are rated at 50 pounds tensile strength. That's not marketing. It's tested and certified.
Professional-grade pawl lock: The locking mechanism uses a tempered pawl design that won't slip or release under stress. Once it's closed, it stays closed.
Multiple size options: We stock 4", 6", 8", 11", 14", and longer lengths in both standard and heavy-duty gauges. Whatever your project needs, we have the right size.
Bulk pricing: Professional installers choose Grizzly because our bulk packs offer the best value without sacrificing quality. A 1000-pack of 8-inch ties costs less than $50, making each tie about $0.05.
Made for professionals, priced for homeowners: The same ties commercial holiday lighting companies use, available in quantities that make sense for residential projects.
5-year outdoor warranty: We're confident these ties will outlast your expectations. If they fail due to material defect within 5 years, we'll replace them.
>> Shop Grizzly Supply outdoor cable ties now <<
Take the Frustration Out of Holiday Decorating
You've spent hours stringing lights. You've climbed ladders in the cold. You've untangled miles of wire.
Don't let cheap fasteners ruin all that work.
Professional outdoor cable ties are the difference between a display that lasts all season and one you're fixing every weekend. They're the difference between a clean, polished look and a messy tangle of sagging wires.
For less than $20, you can secure an entire house display with weatherproof ties that will survive wind, rain, snow, and temperature swings from now until New Year's.
Five years from now, you'll still have those same ties working perfectly. Twenty dollars for five years of reliability works out to $4 per year. Compare that to one pizza delivery when you're too frustrated to cook after rehanging lights for the third time.
The choice is obvious.
Get Your Lights Up Right the First Time
Stop wasting time on repairs. Stop worrying about wind. Stop using weak fasteners that fail.
Grizzly Supply UV-resistant outdoor cable ties give you:
- Professional results that last the entire season
- Weather resistance that handles anything nature brings
- 50-pound tensile strength with a safety margin that prevents failures
- 5+ year durability so you can reuse your setup year after year
- Bulk pricing that costs less than coffee per holiday season
Thousands of homeowners and professional installers trust Grizzly Supply cable ties because they work. Every time. All season. No exceptions.
Your holiday display deserves better than hardware store clips and twist ties. Give it the secure, professional installation it needs.
>> Shop Grizzly Supply outdoor cable ties today <<
Questions about which size or quantity you need? Send us a message here.